
The techniques used in optical microscopy are important to ensure that a sample can be viewed as clearly as possible. This will provide information about its microscopic appearance.
Set up
An optical microscope contains one or a series of lenses to create an enlarged image of a sample that placed in the focal plane of the lens.
The components of an optical microscope can often be very complex and it is essential for the microscope to be set up correctly in order for an accurate image to be achieved. The entire optical path should be set up and controlled to ensure that the microscope will provide the best results.
Principles of operation
The basic principles to operate an optical microscope are relatively simple.
The objective lens of an optical microscope is similar to a very strong magnifying glass. It is a lens with a short focal length and should, therefore, be held close to the sample that is being examined. This allows the light from the sample to come to a focus approximately 160 mm within the tube of the microscope, creating an enlarged and inverted image of the subject.
The real image created by the objective lens is further enlarged by the ocular lens so that an individual can view it.
Most optical microscopes have a compound lens eyepiece, with one lens at the front and one at the back of the eyepiece tube. This creates a couplet, which allows the virtual image to focus between the lenses so that the eye is able to focus on the virtual image.
Operating techniques
A compound optical microscope, which is the most common type of optical microscope used in scientific research, can be operated as follows:
- Preparing the microscope slide with the sample to be examined, including a coverslip over the sample.
- Adjusting the objective lens to the lowest power of resolution.
- Placing the microscope slide with the sample to be examined onto the stage and fasten in place.
- Adjusting the height of the stage so that it is as close as possible to the objective without contact between the lens and the sample.
- Viewing the sample through the eyepiece and adjusting the focus knob to bring the image into focus.
- Changing the condenser and intensity of light to increase the contrast of the image.
- Moving the microscope slide around to being the part of interest of the sample into the center of the field of view.
- Adjusting the focus knob, condenser and light intensity once again to improve the clarity of the image.
- Changing to the next objective lens and readjusting the focus, condenser and light as needed to view the image clearly.
After using an optical microscope, the stage should be lowered so that the microscope slide can easily be removed.
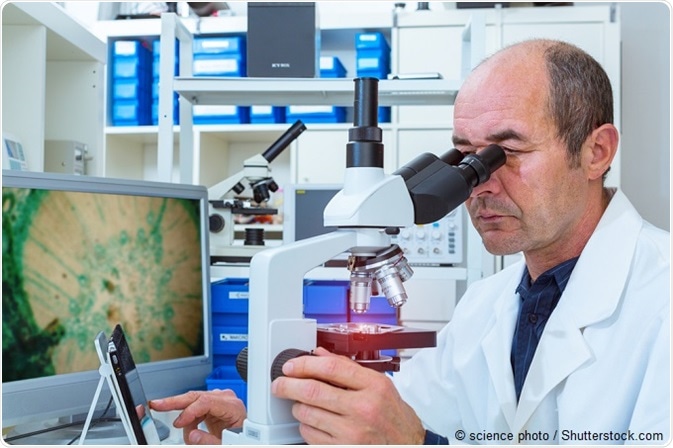
Image viewing and illumination
The image created by any microscope should be viewed with the eyes focused at infinity, beyond the subject. Focusing on the close range of the sample image can lead to tension headaches and tired eyes.
Some people may complain of tired eyes or headaches after using an optical microscope. However, this is usually a sign that the eye is focusing at a close distance, rather than beyond the subject. In the case, the individual should be
There are many different ways that the light path can be modified to improve the contrast and image of the sample from an optical microscope. These include:
- Cross-polarized light illumination
- Bright field illumination
- Dark field illumination
- Phase contrast illumination
- Differential interference contrast illumination
References
- https://cw.fel.cvut.cz/wiki/_media/courses/a6m33zsl/microscopic_techniques.pdf
- https://micro.magnet.fsu.edu/primer/pdfs/microscopy.pdf
- http://www.uni-tuebingen.de/fakultaeten/mathematisch-naturwissenschaftliche-fakultaet/fachbereiche/chemie/institute/physikalische-chemie/professoren/ag-zhang/lab-facilities/optical-microscopy-techniques.html
- http://lib.dr.iastate.edu/cgi/viewcontent.cgi?article=4282&context=etd
Further Reading
- All Microscopy Content
- Advances in Fluorescence Microscopy
- Applications in Light Microscopy
- Electron Microscopy: An Overview
- Brief History of Microscopy
Last Updated: Aug 23, 2018

Written by
Yolanda Smith
Yolanda graduated with a Bachelor of Pharmacy at the University of South Australia and has experience working in both Australia and Italy. She is passionate about how medicine, diet and lifestyle affect our health and enjoys helping people understand this. In her spare time she loves to explore the world and learn about new cultures and languages.
Source: Read Full Article